📅 December 22, 2020
 What? Why is this drive still insisting that it is a part of a RAID array?
If you use mdadm, you might have encountered a situation where, even though you entered the correct commands to fail a member drive and remove it from the array, another computer or the same computer still recognizes it as a part of the old array.
This is normal because mdadm member drives contain superblocks that contain RAID information. If a computer still sees a removed drive as part of a RAID array, it is usually because the superblock was not removed from the drive.
Here is how to do that.
Note: Since RAID arrays primarily safeguard data, make sure to create a backup before altering a RAID array. This includes adding or removing drives. There is the potential of making a serious mistake and losing your data. Backup first!
Does this look familiar?
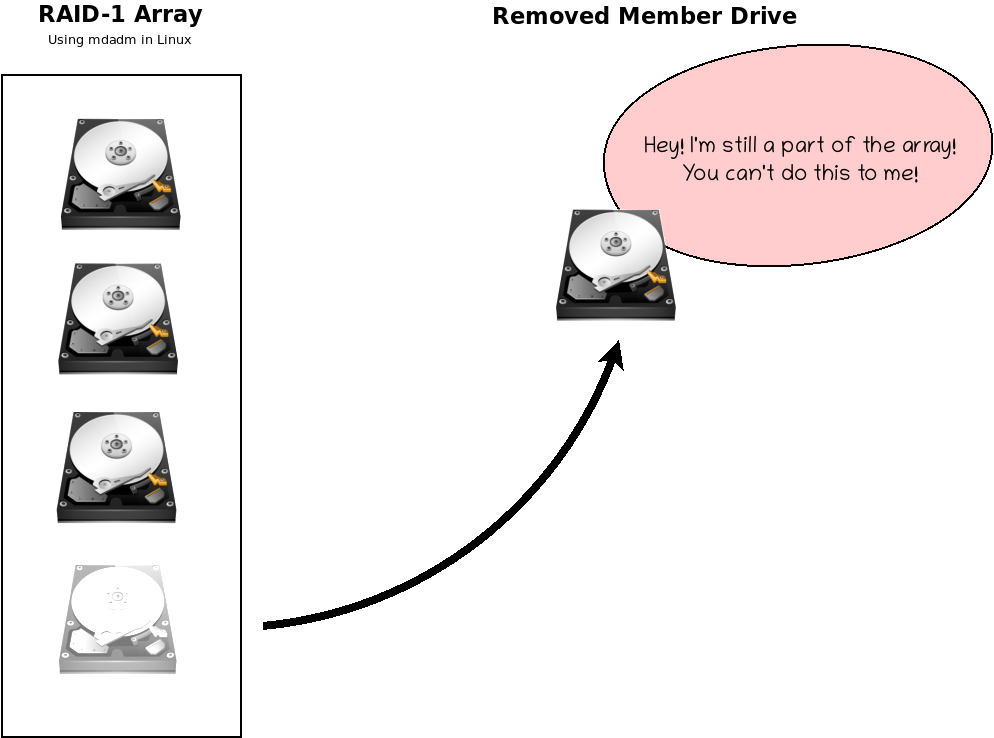
The member drive was removed from the RAID array using mdadm, but the system still sees that drive as part of the array.
Summary
- sudo mdadm –detail /dev/md1
- sudo umount /media/myraid
- sudo mdadm –stop /dev/md1
- sudo mdadm –fail /dev/sde –remove /dev/sde
- sudo mdadm –zero-superblock /dev/sde
- sudo mdadm –assemble –scan
Step 1. Get Array Details
This article tested these commands on Linux Mint 20 running a RAID array using the software RAID manager mdadm (free from the repository).
Let us assume the RAID array is named /dev/md1, and the drive we want to remove permanently is /dev/sde.
sudo mdadm --detail /dev/md1
This result shows details about the /dev/md1 array. Checking the array is a good idea. For whatever reason — a failed drive, a new RAID configuration — we want to remove /dev/sde from the existing array /dev/md1.
Step 2. Unmount the RAID Array
Suppose the RAID array is mounted at /media/myraid. We must stop the array in order to remove a drive permanently, but before that, we must unmount the array if it is mounted and in use by the operating system.
sudo umount /media/myraid
Step 3. Stop the Array
Now, we can stop the array.
sudo mdadm --stop /dev/md1
Step 4. Remove the Drive using mdadm
Do not physically remove the drive from the computer yet (if that is your plan). We need to tell mdadm to “disconnect” or “remove” the drive as part of /dev/md1’s RAID configuration.
sudo mdadm --fail /dev/sde --remove /dev/sde
We need to fail and remove the drive.
Important Note: Only remove a drive from an array that supports removal without losing data. In this example, there was an extra hard drive for redundancy (/dev/sde). Removing it did not kill the array. However, if you remove a drive from a RAID-0 array, then you will lose all of your data. If you remove a drive from a RAID-5 array that only has three drives, then you will lose all of your data because RAID-5 requires at least three drive to operate. Know your RAID levels first!
Step 4. Zero the Superblock on the Removed Member Drive
Okay, so the member drive has been removed, but it will still insist that it is part of an array because the former RAID array configuration is still stored on the drive in its superblock. Each array member drive will have its own superblock to store RAID information. We need to clear this information.
sudo mdadm --zero-superblock /dev/sde
This is the all-important step that is easily overlooked. mdadm does not automatically clear the member drive’s superblock when it is removed from an array. You must do this manually yourself. If this member drive is installed in a different computer or used as a normal drive in the same computer, if its superblock is not cleared using mdadm (or gparted with a full partition reset), any existing mdadm installation will try to automatically assemble the drive to its previous array. This can cause problems and head-scratching. Clearing the superblock using mdadm is the safest way to remove the RAID information form the removed member drive.
If there are multiple drives being removed from the array, then each drive must have its superblock cleared. Do this one at a time.
Step 5. (Optional) Change the Number of Devices for the RAID Array
Now that one member drive has been removed from the array, we should change the number of drives that the array expects or else the removed drive will appear as a missing drive upon each system restart. If we had four drives to being with, then the array will still expect four drives.
Suppose there are three drives remaining.
sudo mdadm --grow --raid-devices=3
We use the –grow option for this. This part can be tricky because it tends to be array-specific. Usually, the most guaranteed option is to recreate the array with the new number of devices if your plan is to decrease the number of member drives.
If you are adding an extra member drive to an existing array, there is no need to recreate it. First, add the new drive and then use the –grow option.
sudo mdadm --add /dev/md1 /dev/sdh <--- /dev/sdh is the new drive to add
sudo mdadm --grow --raid-devices=5
Note: Step 5 is potentially dangerous. One mistake or typo, and you can lose data on the array. Make sure to have a backup of your data.
Step 5 is dependent upon what you are trying to achieve, so it is not possible to list every possibility here. These are only ideas to illustrate the process. Depending upon your goal, this might not be the fifth step to perform.
Also note that if your goal is to change RAID levels, from RAID-0 to RAID-5, then you will need to stop, delete, and recreate a brand new array. You cannot switch RAID levels using mdadm without losing data. Backup first!
Step 6. Restart the Array
sudo mdadm --assemble --scan
Contrary to what might be expected, there is no –start option for mdadm. To start an array with mdadm, we must use the options –assemble and –scan together. This automatically scans superblocks and assembles them into their proper arrays.
You should see a message something like this if the RAID array successfully starts:
mdadm: /dev/md/1 has been started with 3 drives.
The number of drives will depend upon the array. A single array with three drives is used here for this example, but multiple RAID arrays may exist on a single system. mdadm uses superblocks to determine which member drive belongs to which array, which is why we need to clear it in order to permanently remove a member drive from an array.
Conclusion
At this point, it is up to you to decide what to do with the drive removed from the array. If it is a failed drive, then it is best to physically remove it from the system. If the hard drive is good, then you can migrate it to another system…or use it as a normal drive…or add it as a spare drive in a second RAID array on the same system. The choice is yours.
Just be sure to clear the member drive’s superblock first.
Have fun!
